This blog post contains affiliate links. If you purchase an item using our link, we may receive a small commission at no additional cost to you.
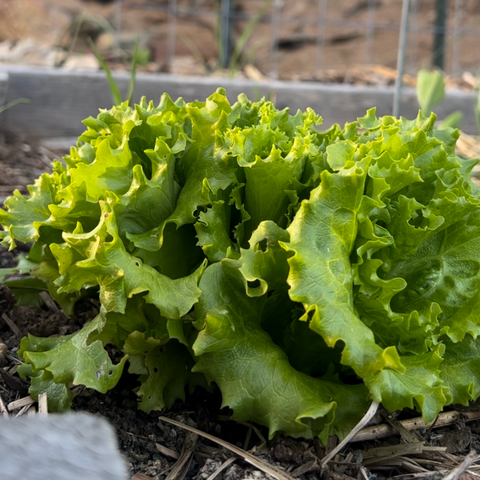
Starting Lettuce From Seed Indoors
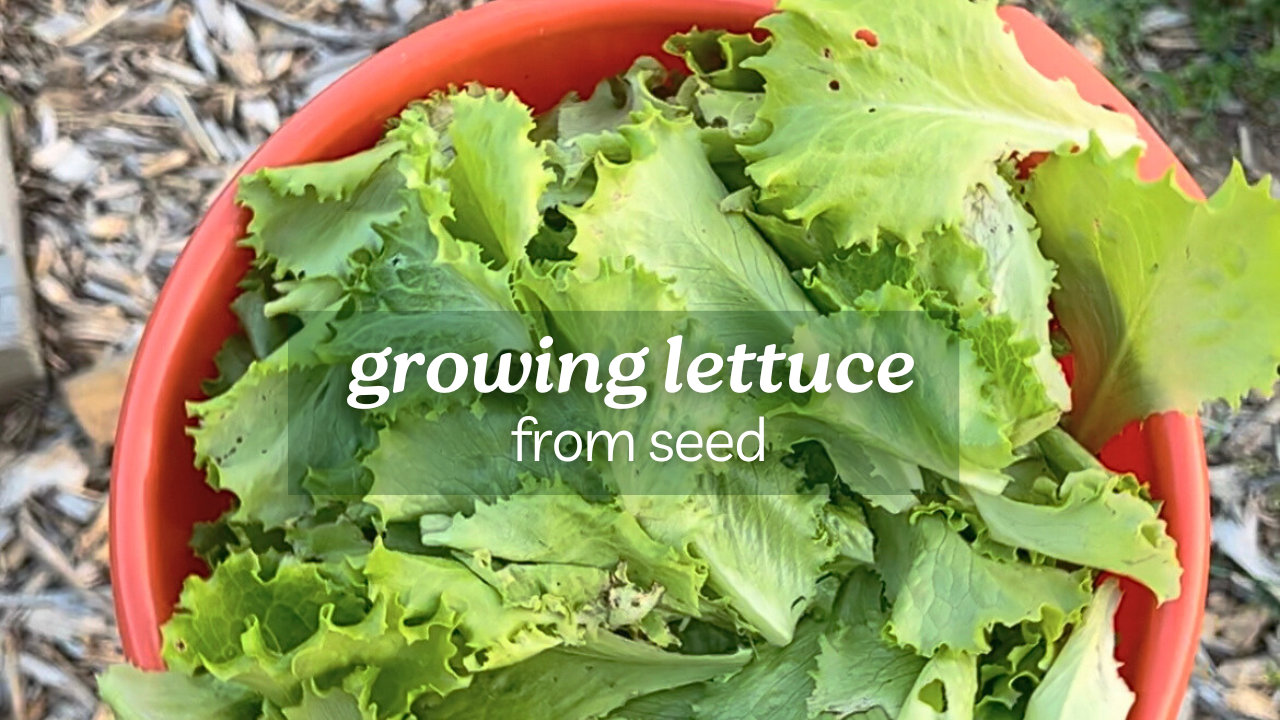
Lettuce can be directly sown outdoors in most climates but the benefit to starting lettuce seeds indoors is an earlier harvest.
Lettuce is a great plant to grow as a beginner gardener and is easy to grow in containers if you have limited space. The “cut and come again” method of growing lettuce will provide you with fresh greens for weeks!
Varieties of Lettuce:
The first step of growing lettuce indoors or outdoors is choosing the variety you want to grow. You can pick one specific variety to grow or choose a pre-mixed blend.
Several characteristics used to categorize lettuce include:
-
Tenderness
-
Flavor (i.e. sweet)
-
Texture (i.e. crisp, buttery)
-
Heat Tolerance
If you plan to eventually harvest the seed from the plant, choose a variety that is an heirloom or open-pollinated.
Some of our personal favorites are listed below:
-
Albachiara Lettuce
This variety is especially heat tolerant. If you live in a warmer region this variety might be a good choice for you! I like growing it because it allows us to continue harvesting even when the temperatures get warmer towards the end of May. - Gourmet Lettuce Blend
I always like to include at least one blend each season. It’s an easy way to get a mix of greens!
Fun Varieties we are trying this year:
-
I love the colors of this lettuce and that it is an heirloom variety so we can save the seeds!
- Yankee Hardy Lettuce Blend
This mix has resistance to downy mildew which can be helpful for fall planting.
When to Plant Lettuce Seeds
Lettuce is a cool weather crop and prefers cooler temperatures. The actual date you should plant your lettuce seeds varies depending where you live.
If you’re starting seeds indoors, you should start them ~10 weeks before your last frost date. For example, if your last frost date is May 2nd, start your seeds around the week of February 22nd.
A simple Google search will help you figure out your last frost date. You can also use this tool and enter your exact location.
Another great tool is Clyde's Garden Planner.
Lettuce Germination Time
Most lettuce sprouts within 7-10 days. The actual germination time will vary depending on the growing conditions, age of the seed, and variety. To speed up germination when growing lettuce indoors, use a seed starting heat mat and humidity dome.
According to NC State Extension, lettuce seed can germinate at temperatures as low as 35 degrees F, but 70-75 degrees F is ideal. If you are starting seeds indoors, temperature shouldn’t be an issue but this is worth noting for direct sowing outdoors.
During the germination phase, ensure the growing medium stays moist. If the growing medium dries out during the germination phase, it may delay the time to sprout.
Viability of Seed
The viability of seed decreases over time. Older seeds typically result in lower germination rates and longer germination time. According to this chart found on the High Mowing Organic Seeds website, lettuce seeds can remain viable for up to 5 years.
How to Grow Lettuce Indoors
Now that you have a general idea of what varieties are available and when you need to plant, it’s time to start growing!
1. Purchase the variety of lettuce you’d like to grow.
Consider the characteristics that are most important to you. If this is your first time growing lettuce, try several different varieties or purchase a premixed blend.
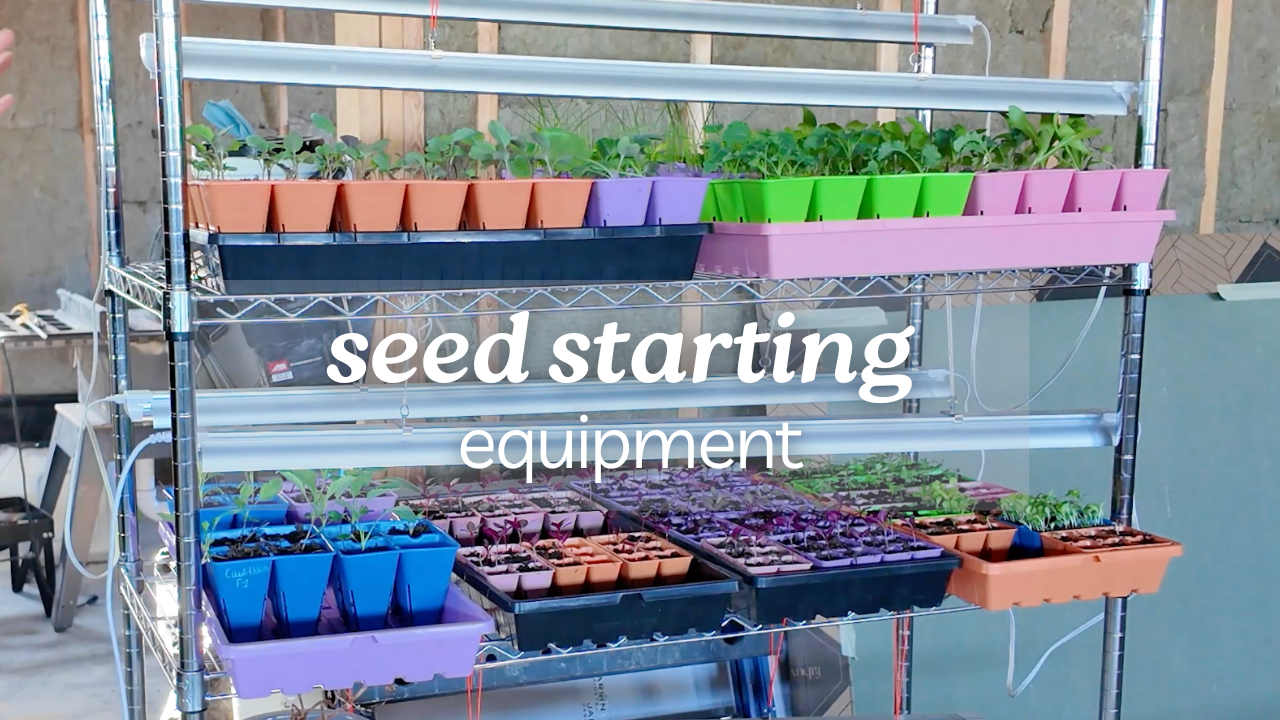
2. Gather seed starting equipment.
You’ll need seed starting pots and a seed starting medium.
Seed Starting Pots and Trays
There are several different options for seed starting pots depending on your goals.
These are my personal favorite for starting seeds. They allow you to start many plants in a smaller area and require less growing medium. As the plants grow, you may need to pot them into a larger container before planting outdoors. Depending on when you start your lettuce, you could plant directly outdoors from these trays.
2. 1010 Seed Starter Kit for Backyard Gardeners
This kit is perfect because it includes (24) 6-cell trays, (4) Humidity domes, (4) 1010 trays. This is everything you need to get started! The humidity domes will help with germination and the 1010 trays allow bottom watering and easy transport.
Air prune trays help produce healthier root systems and stronger transplants. These work great for when you plan to grow a lot of seedlings directly outdoors soon after sprouting
If you aren’t a fan of transplanting from a small to larger containers and plan to keep your seedlings indoors longer, the 2.5” Seed Starter pots might be a better option for you!
Regardless which of the above options you choose, I recommend purchasing 1020 trays to place your trays or pots in. This will allow you to easily transport your plants and bottom water. These trays are high quality and made in the USA - highly recommend!
If you’re on a budget, work with what you have! Plastic mushroom containers work great. If you are upcycling a container you already have, drill several holes in the container to ensure proper drainage.
I’d recommend finding a shallow container to place your potted plants in so that you can easily transport and water the plants. These 1020 trays are durable, sturdy, and will last for many years.
Seed Starting Medium
Once again, there are many options for seed starting mediums. You can buy a premade seed starting mix, make your own, or do a combination of the two.
We like to use premade seed starting mix in combination with other additions!
Here is the ratio we are following this year:
1 part premade seed starting mix
1 part PittMoss
0.5 part leaf mold (these are leaves we decomposed at home)
Another great medium to consider is coco coir. I recommend mixing coco coir with another medium.
3. Mix your seed starting medium with water
When you are starting your seeds indoors, it’s important that the soil is moist when you sow the seeds. We like to use boiling hot water because this will kill any fungus gnats that may have laid eggs in the mix. Stir the mixture with a stick or large wooden spoon that you don’t mind sacrificing to your gardening hobby.
If you purchase a new bag of a premade mix, this shouldn’t be an issue but we like to play it safe! We also often have seed starting medium left over from the previous year and store it in an outdoor storage location. This can invite fungus gnats to lay eggs during storage.
Allow the mixture to cool before touching it. It will be hot!
4. Fill your pots with the mix.
Fill the containers with the mix and lightly compress the top before planting your seeds.
5. Sow the seeds.
When sowing lettuce seeds you can either plant 1 seed per cell/pot or you can use the overseeding method.
I recommend using the overseeding method if you want a continuous harvest of lettuce throughout the growing season. You can learn more about this method here: “Growing Cut and Come Again lettuce.”
For overseeding, sow 10-15 seeds per cell or pot.
You can either mix the seeds with the top layer of soil or lightly cover them with another small layer of soil. The depth of planting will be listed on the seed packet.
-
The rule of thumb is to plant the seeds double the depth of their size.
-
If the seeds are sown too deep, the seeds will not have enough energy to push through the top layer of soil.
6. Place trays under a grow light.
Although a grow light is not 100% necessary, I highly recommend it for healthy, strong seedlings. Placing a grow light directly over the trays will ensure that the plants grow directly upwards once sprouted.
If you choose to place your trays next to the window, you may end up with “leggy” seedlings that look long and stringy. This is because the seedlings are reaching for the light.
Speed up germination
If you want to speed up germination, use a heat mat and humidity dome. The heat mat keeps the soil warm and the humidity dome helps the soil stay moist.
Remove both the heat mat and humidity dome once the seeds have sprouted.
Caring for Lettuce Seedlings
Once the seedlings have sprouted, keep on a close eye on the soil and ensure it stays moist. When the second set of leaves form, you’ll need to start feeding your plants.
Watering Seedlings
When the plants are young, bottom water the seedlings by adding water to your 1020 tray and allowing the moisture to wick up from the bottom of the tray.
Allow the water to sit in the tray for about 20-30 minutes and drain any access after that time. Leaving excess water in the tray can oversaturate the soil and lead to root rot and mold.
For top watering, use a spray bottle or olive oil dispenser so that you don’t knock over the newly sprouted seedlings with a large flow of water.
Feeding Seedlings
Once the seedlings grow their second set of leaves, provide a small amount of fertilizer. Most fertilizer is formulated for full grown plants. Dilute the fertilizer by mixing it with water. We dilute ours by about ¼ of the recommendation listing on the packaging.
When it comes to fertilizing seedlings, less is more! You can always provide more food, but providing too much nutrition can harm the plant.
Seedlings can be fed weekly.
If you used a seed starting soil that already contained nutrition, this step may not be required but if you used a traditional seed starting mix, you’ll likely need to provide extra nutrition.
When to Transplant Lettuce Seedlings
Lettuce is a cool weather plant so you’ll want to plant it outdoors in the very early spring. You can plant it as soon as the soil can be worked.
Lettuce cannot tolerate a hard frost so if you choose to plant outdoors before your last frost date, keep an eye on the weather! You can cover your plants with frost blankets, an old bedsheet, or an old window.
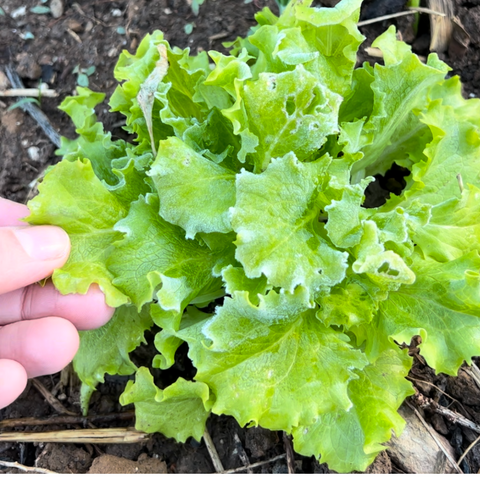
Don’t wait too long to plant it outdoors though! Most lettuce varieties are sensitive to warm temperatures and may bolt if the temperatures exceed 70-80 degrees F. for several days.
Growing Lettuce
Whether you decide to start your lettuce indoors or outdoors, it’s definitely a must-have in the garden. Lettuce is really easy to grow and the same plants can provide bountiful harvests for you and your family for weeks in the cooler spring and fall months!
References:
NC State Extension: https://content.ces.ncsu.edu/lettuce


